
This post is to provide readers with instructions on how to image Kali Linux to the Raspberry Pi 4. This post will also make reference to the Sticky Fingers versions of Kali Linux as well as run through some base commands in Kali Linux that you should run on a daily, if not weekly basis to ensure the OS is up to date.
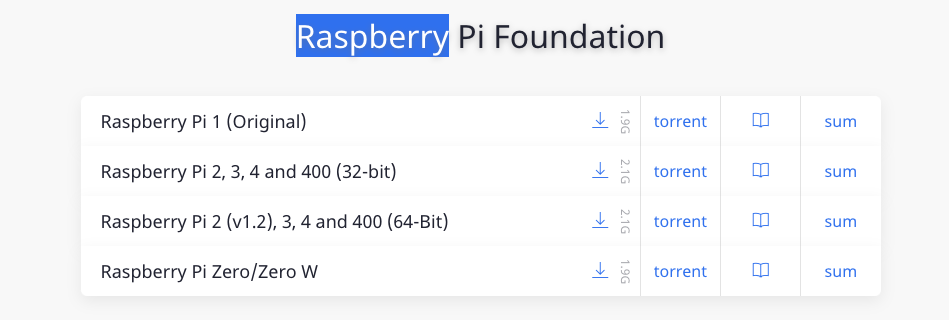
Where can you download the Kali and Sticky Fingers image for the RPi 4?
Kali Linux download | https://www.offensive-security.com/ka…
White Dome Sticky Fingers download | https://whitedome.com.au/re4son/sticky-fingers-kali-pi/
Both of the links above will allow you to download the image directly from the Offensive Security website or Whitedome, if you are using the Sticky Fingers version of Kali Linux. Use control-f or command-f to search for Raspberry, then choose the 32 bit version.
How to image the OS to your SD card?
There are two different softwares I would recommend for imaging SD cards, the first is Balena Etcher, and the second is the Raspberry Pi OS Imager, this is the one that I use to image this Kali image in the video above. Both of the softwares below are generally well regarded softwares for imaging SD cards for the Pi, the benefits of using the Raspberry Pi OS Imager is that it comes with lots of build in tools and default OS images.
Software to image your SD card
Balena Etcher | https://www.balena.io/etcher/
Raspberry Pi OS imager | https://www.raspberrypi.org/software/
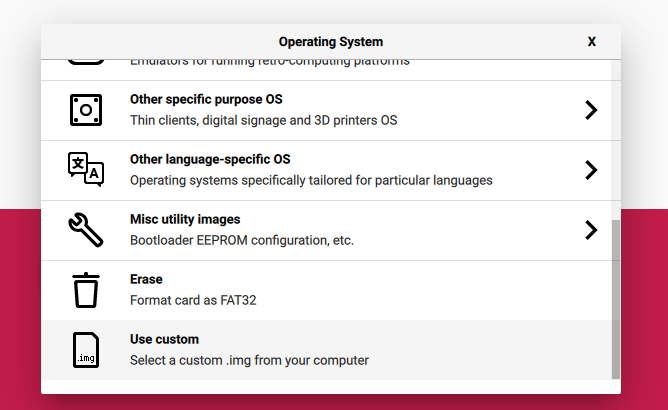
To get started, select choose OS image, scroll to the bottom and then use ‘use custom’, from here you will need to select the Kali Image that you downloaded from the Kali Linux website.
Assuming that your SD card has been put into your SD card reader, select the correct device from storage, then select ‘write’. It will take around 20 minutes to write the image to your SD card.
Once it has finished, put it in your Raspberry Pi 4, when the device boots up, you will need to use the default credentials username kali and password kali to sign in for the first time. Refer to my video above for useful commands on Kali Linux.